What’s new at Inera and around the industry
June 2020 Newsletter

Find preprints, customer highlights, PubMed news, and more in our June 2020 Newsletter!
Edifix news: Bring on the preprint citations!
![]() Has COVID-19 caused preprint citations to explode in your reference lists? If so, you’re far from alone.
Has COVID-19 caused preprint citations to explode in your reference lists? If so, you’re far from alone.
We’ve added support to Edifix for parsing preprints and retrieving preprint DOIs from Crossref. If a preprint has been published as a journal article, Edifix will add a comment with the published article’s DOI. You’ll find all the details on the Edifix blog!
eXtyles users: This update is for you, too! If your eXtyles configuration includes Reference Processing, you’ll see preprint processing in your next build. Need it sooner? Please get in touch! Or, if you need a quick and easy source of preprint DOIs, look no further than a short-term Edifix subscription to supplement your eXtyles license.
#eXtyles20th: Q&A with eXtyles customer Sheridan
 As part of our #eXtyles20th celebrations, we’re sitting down with a variety of eXtyles customers to chat about their experiences. Our latest Q&A is with Peter J. Olson of Sheridan, the original eXtyles customer!
You’ll find the whole story on the Inera blog.
End-to-End Automation with eXtyles Arc + Typefi
On June 17, Inera joined with Typefi to present a free webinar showcasing how our eXtyles Arc and Typefi solutions work together to achieve a fully automated article workflow.
If you weren’t able to attend in real time, not to worry! You can catch up on your own time, and send us your questions and comments at [email protected].
PubMed news
PMC pilots preprints

The National Library of Medicine (NLM) is launching a pilot project making preprints resulting from NIH-funded research available via PubMed Central (PMC), in order to explore approaches to increasing the discoverability of early NIH research results. Beginning the week of June 8, the pilot project will run for at least 12 months and will inform future NLM efforts with preprints.
See NCBI Insights for more details!
Fetching XML from the new PubMed
You may have noticed that the option to see XML of a PubMed record is no longer available as part of the new PubMed interface. But you may still find this feature useful if
- eXtyles PubMed Reference Correction has inserted something odd (e.g., page numbers that look wrong), or
- you have concerns about how information is being rendered in the record at PubMed (e.g., incorrect name segmentation).
In cases like these, looking at the XML will tell you if the issue is with the underlying PubMed metadata.
Don’t worry—you can still access PubMed XML records! Just use this URL:
https://eutils.ncbi.nlm.nih.gov/entrez/eutils/efetch.fcgi?db=pubmed&id=32129670&retmode=xml
using the PMID of the item you want in place of 32129670. Unmodified, the URL above returns XML for this article:
Dai WC, Zhang HW, Yu J, et al. CT Imaging and Differential Diagnosis of COVID-19. Can Assoc Radiol J. 2020;71(2):195‐200. doi:10.1177/0846537120913033
(Try it! We’ll wait.)
To retrieve XML data for more than one item from PubMed, use a comma to separate the PMIDs in your EFetch URL, like this:
https://eutils.ncbi.nlm.nih.gov/entrez/eutils/efetch.fcgi?db=pubmed&id=32129670,27743768&retmode=xml
Working with Word
Word Tip: Display file info with QuickParts
In our March newsletter, we talked about using QuickParts to track document updates in Word. This month, we’ll show you another QuickParts tip that helps you keep track of where your Word files live: adding the document name and file path to the header or footer of your document.
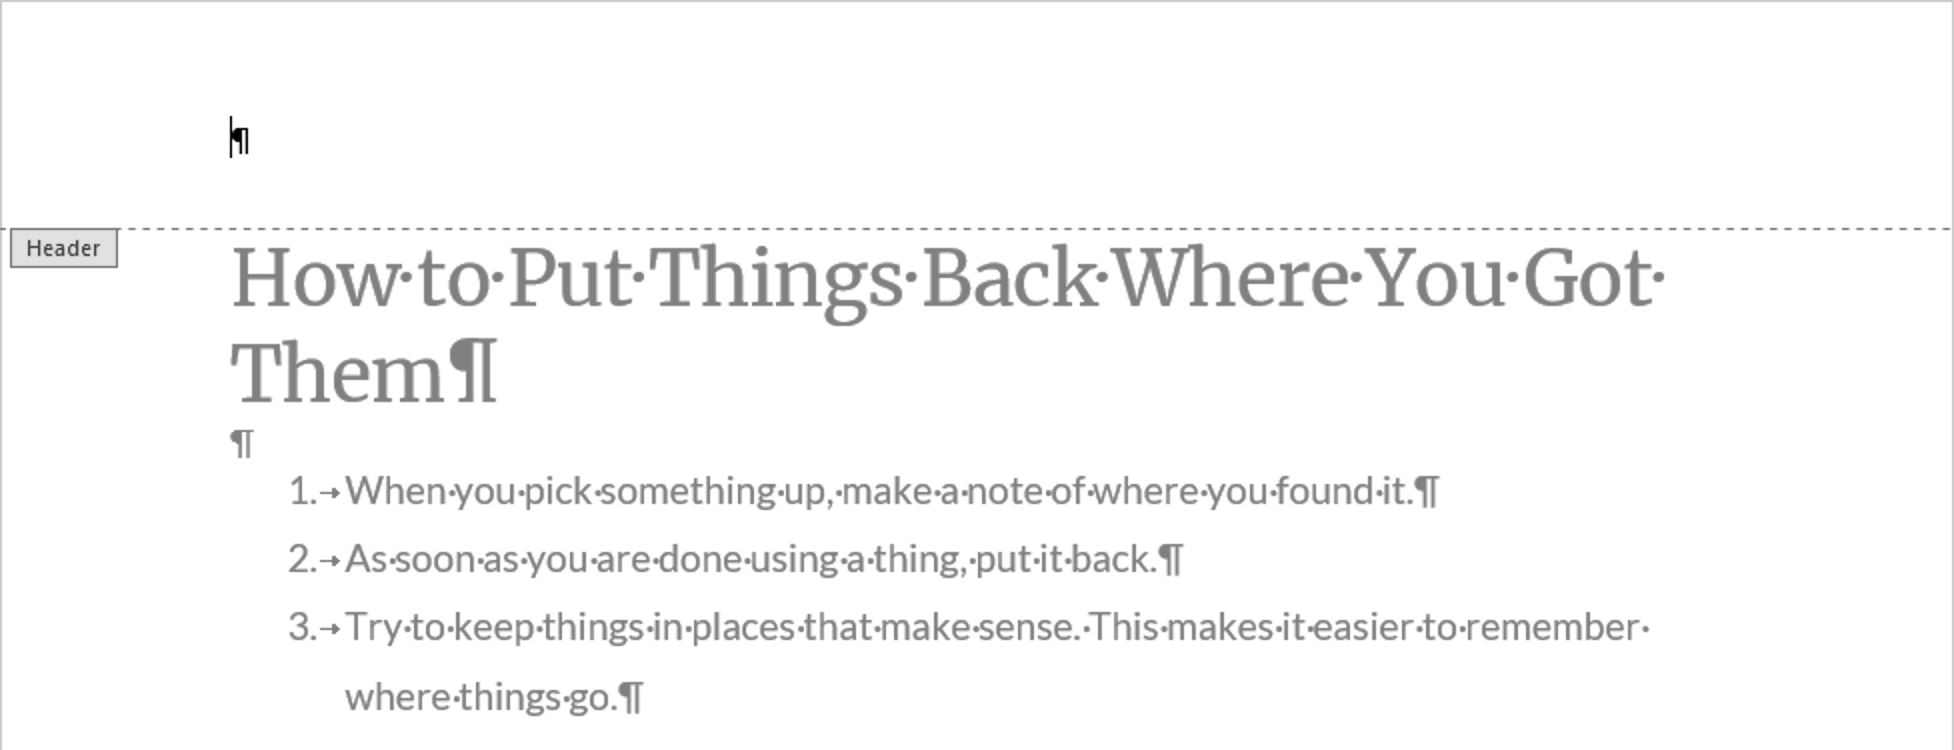
Start by going into the header or footer (by double-clicking at the top or bottom of the page or by choosing Insert>Header/Footer>Blank):
Choose Insert>QuickParts>Field:
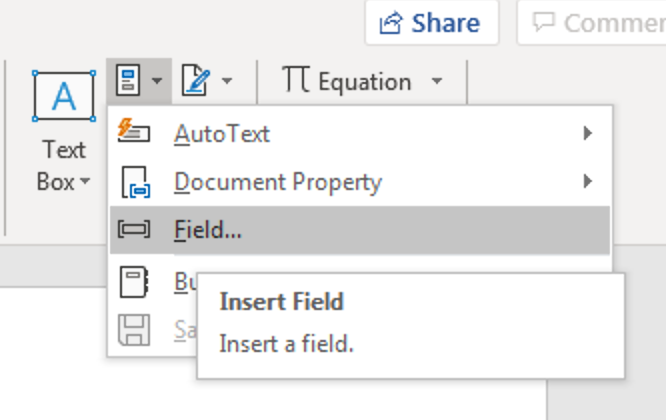
In the Insert Field dialog box, choose Document Information from the Categories: dropdown, then choose FileName from the Field names: box. In the Field Options section on the right-hand side, check the Add path to filename checkbox.

Click OK.
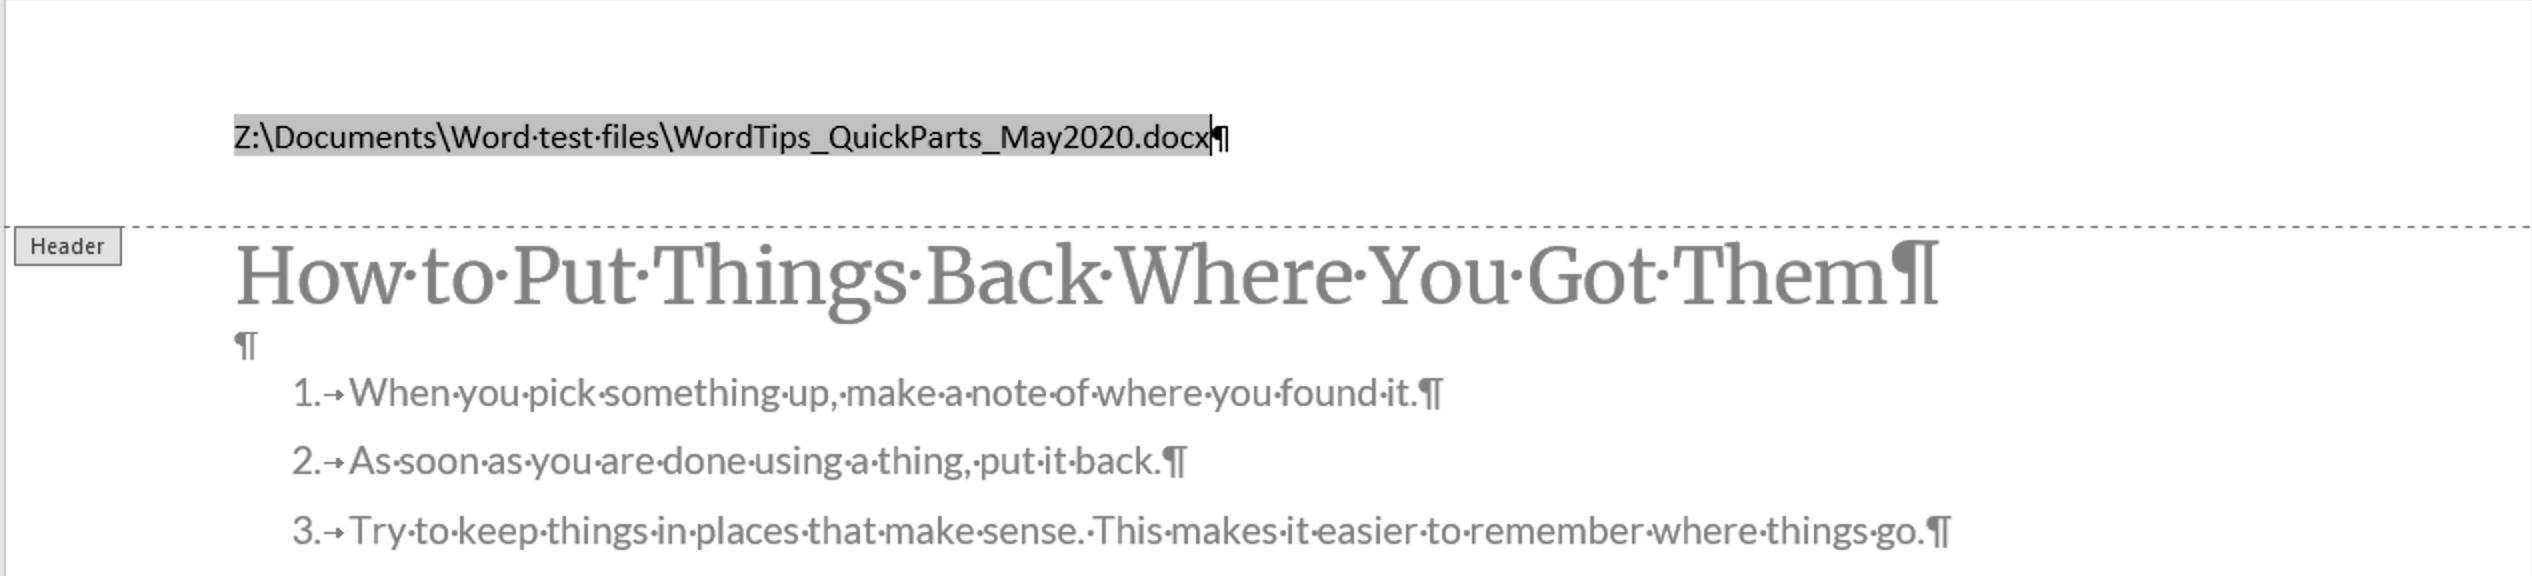
You should now see a field in your document header (or footer) that shows exactly where on your network or local drive this specific file is stored:
This field will update automatically if you move the file, or if another user saves it in a different location. If it’s more useful to keep displaying the original file location, you can convert the field to plain text: just select the whole field and use Ctrl-6 to break the link.
Maybe it’s useful to have future copies of a file display both the original location and the locations of subsequent copies! To make this happen, insert the same field twice, label one “Original” and one “Current” (or whatever labels make sense for your workflow), and Ctrl-6 only the “Original” instance:

*
Have an intractable Word problem you’d love to solve? Have a clever tip to share? Send it to us at [email protected] (Subject line: Word Tips)!